We’ve all been there – you spend hours sanding, staining, and sealing a beautiful wood table only to discover a small nick on the edge from a slip of the hand. Or you realize a segment is just a hair shorter than the rest. It’s easy to get frustrated by these imperfections after all your hard work. However, small woodworking mistakes and irregularities should be viewed not as flaws, but as part of the handmade process. They lend charm and highlight the unique craftsmanship of your furniture. This article will cover common woodworking errors, provide tips for prevention, and most importantly, frame mistakes as beautiful reminders of handcrafted charm rather than industrial perfection.
| Key Takeaways | Description |
|---|---|
| Accept imperfections | Accept that minor defects will happen and embrace them as signs of handmade charm |
| Spotlight flaws | Cleverly highlight some flaws as rustic decorative elements |
| Fix major defects | Repair glaring flaws using replacement pieces, wood filler and finishes |
| Prevent errors | Measure carefully, master tools, work slowly to minimize mistakes |
| Celebrate handmade | Don’t obsess over perfection – enjoy the personality of handmade furniture |
Regular Occurrences: The Most Common Woodworking Mistakes
Woodworking is difficult, requiring both accuracy and artistic vision. Thus, nearly every piece will feature minor imperfections. Understanding the most frequent mistakes can help identify areas to improve technique. Watch out for these common woodworking slip-ups:

Image from Pexels / Attribution not required
Inaccurate Measurements
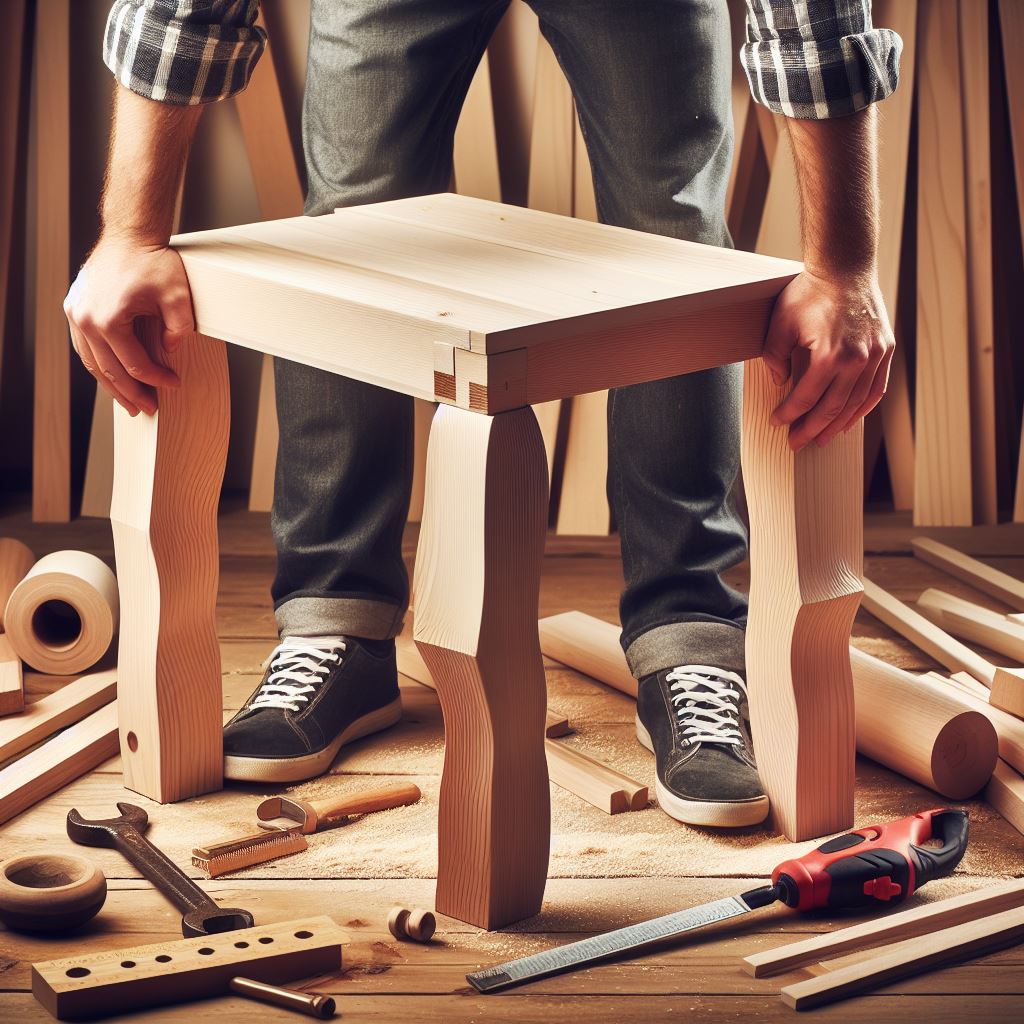
Whether using traditional rulers and protractors or more advanced digital calipers, inaccurate measurements routinely throw projects off. Examples include table legs of uneven lengths, incorrect joinery angles that don’t fit flush, or pieces simply not aligning. Rushing usually causes errors here, so remember: measure twice, cut once.
Wood Selection and Preparation Flaws
Picking low-quality, warped wood pieces or improper planning/joining during the initial stages often comes back to bite later. Take time in choosing attractive, durable lumber. Prepare it carefully through initial cuts, joins, and sanding.
Tool Handling Mistakes
Botched cuts, uneven planes, slipped chisels – tools require practice and care to avoid frequent errors:
- Table saws kicking back from poor feeding discipline
- Drill bits wandering and gouging sides
- Routers gouging too deeply
Mastering tools is a lifetime craft. Frame mistakes here as learning opportunities.
Assembly Problems
Furniture rarely assembles perfectly the first go-around. Maybe the joints don’t mesh cleanly or pieces twist awkwardly. Assembly offers a chance to get creative with sanding, adjusting joinery cuts where needed, and wood putty or filler as required.
Reframing Mistakes: Signs of Handmade Charm
“A handmade item is going to have variations and imperfections. But that’s the beauty – it came from someone who cared enough to make something unique just for you.” – LeAnn Riley
Though annoying in the moment, woodworking mistakes impart custom, handmade charm difficult to replicate in mass-produced furniture ordered online. They proudly announce “I was made special, just for you!” each time someone runs their hand along the surface.
Smart handling of small imperfections in the finishing stages can actually enhance visual flair. For example, knots and whorls in the woodgrain often get highlighted rather than hidden on rustic pieces. Signs of natural aging like checking, oxidizing, weathering, and insect marks emphasize distressed styles. Changing your mindset to view slip-ups as beautiful distinguishing traits is crucial.
Working With and Preventing Mistakes
While some flaws spotlight handmade allure, you likely want to minimize errors, especially visible defects. Here are tips for handling and preventing common woodworking mistakes:
Accept Imperfections as Part of the Process
Striving for flawless results will only lead to frustration. Minor defects will happen – accept this reality. You are human after all. Instead, focus on proper techniques to limit mistakes. When they do occur, roll with the punches to cleverly mask or incorporate them into the overall design rather than obsessing over perfection.
Cleverly Disguise Any Glaring Flaws
For noticeable blemishes marring an otherwise beautiful final product, you have options to discreetly blend them in:
- Strategically place defects on hidden undersides or backsides
- Utilize wood putty followed by careful repainting/refinishing for small gaps, nicks, etc.
- Sand down any raised edges or high spots blending them into the surrounding surface
- For misaligned segments, disguise with accents like inlay designs or intentional shadow lines
- Feature the flaw, for example highlighting an errant hole as a rustic decorative knot
Patch Larger Defects When Required
While minor imperfections add charm, you likely want to fix major eyesores. Some options:
- Carefully measure, cut, and glue in replacement wood sections for damaged or missing chunks
- Use wood filler products to pack larger cracks, gouges,etc. then refinish
- Attach decorative accents like handles over especially unsightly screw-ups
Apply fixes artfully though – visible patch marks keep that handcrafted personality shining through!
“I made my first table with all kinds of mistakes, but 20 years later it’s still used daily. My wife says it has the most personality.” – Mike D.
Keys to Preventing Those Common Woodworking Errors
Prevention is the best approach for minimizing frustrating rework correcting avoidable flaws. Keep these keys in mind:
- Measure carefully twice or more – don’t rush this vital step!
- Inspect all materials closely before use for defects
- Master your tools through training and practice to handle cleanly
- Work slowly and deliberately, avoiding distraction
- Use jigs and guides like taper jigs for angle cuts or drill guides for straight holes
- Adjust joinery during dry assembly to ensure proper alignment
- Sand and finish mindfully, checking closely for gaps, drips etc. before moving to next steps
Conclusion: Celebrating the Handmade
Woodworking mistakes serve as reminders that the furniture was crafted slowly and carefully by a real person, not mass-produced by a machine focused solely on profits. The small irregularities mark creations made with care and attention just for you. Rather than flaws, reframe any abnormalities as beautiful distinguishing traits proving genuine handmade appeal. Keep this mindset during building and finishing to artfully incorporate defects into the overall design. While working to minimize errors through preparation and technique, don’t become so obsessed with perfection that you lose sight of the charming irregularity you set out to achieve in crafting homemade furniture. Celebrate the occasional knick, notch, or twist – enjoy furniture with personality!
Frequently Asked Questions
Q: My cutting board has some small splits along the edges. Should I repair them?
A: For items like cutting boards that undergo wear and tear, minor splits actually add to the charm, showing they have been well-used and loved. Simply sand the edges smooth and continue enjoying your handiwork.
Q: I noticed some gaps in the joinery of a table I’m building. What should I do?
A: Carefully disassemble that section and adjust with sanding/shimming until a tight flush fit. If gaps persist, hide them strategically or utilize mixtures like sawdust and glue for subtle, natural-looking filler.
Q: There’s an obvious gouge on my freshly finished table. Help!
A: First, take a deep breath and embrace that it highlights the handmade origins! Then blend color with markers and finish over it. Or feature it by coloring the defect creatively with stain/paint for a unique inlaid design.
Q: Can I prevent wood from cracking and checking as it ages?
A: Minor checking adds antiqued personality but can be minimized by starting with properly dried wood and allowing finishes to cure fully to limit moisture changes as seasons shift. However, some aging is unavoidable showing the wood was turned by a craftsperson not machines.
Q: I accidentally drilled a hole off-center when joining two boards. What do I do?
A: Edge join or splice in a wood insert sized slightly overlong and trim flush after glue dries. The patch makes for a more interesting grain pattern. Alternatively, utiliize the hole creatively for a decorative knot or as part of an inlay design.
Q: My belt sander carved some uneven waves into the surface. Help!
A: Unless totally marring the look, keep sanding blending them in as well as possible. Uneven planes simply add to the hand-crafted journey of the piece. For especially rough patches, used closed-grit paper to resurface small sections.
Q: I measured wrong and cut my table legs to slightly different sizes. Now it wobbles. What are my options?
A: If wobble is minor, detach legs and plane/sand down to match shortest leg. For larger discrepancies, cut new legs or utilize shims. Strategically place the shortest leg where least noticeable. Creative decorating can also hide slight differences in leg lengths.
External References
For more tips on preventing errors and embracing the handmade process when they rarely do creep in, check out these additional resources:
Woodworking Mistakes – Learning Experiences

