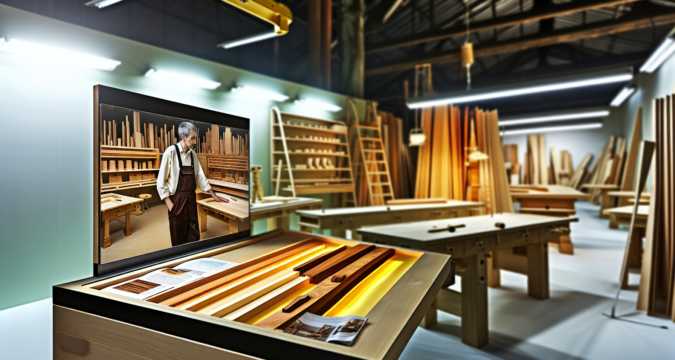
- Distressing: Imbuing Character with Worn, Weathered Charm
- Specializing Stains Through Antiquing
- Faux Finishes: Transforming Wood's Look with Artful Illusions
- Recommended Products for Stunning Finishes
- Achieving Museum-Quality Looks Takes Practice
- FAQs: Common Wood Finish Questions
- Helpful Resources:
Creating a stunning, professional-grade finish requires mastering skills beyond basic staining or sealing. By learning [distressing], [antiquing], [faux finishing], and other advanced techniques, woodworkers can make their projects come alive with depth, dimension, and artistry. This guide explores must-know tips for leveling up your wood finishes.
| Key Takeaways |
|---|
| Distressing creates worn, weathered charm through manual cracks and imperfections |
| Antiquing uses colored glazes/stains to instill realistic aged depth on wood |
| Apply pre-stain conditioners before antiquing to prevent blotchiness |
| Faux finishing illusively transforms wood’s look through painted textures and effects |
| Beginners should start with basic faux wood grain and wash techniques |
| Invest in quality brushes, glazes, and tools for smooth faux finishing |
| Recommended products: Old Masters gel stains, Modern Masters metal effects glazes |
| Taking in-person finishing classes helps refine distressing, antiquing skills |
| Allow 72+ hours for gel stains to fully cure before adding protective topcoats |
| Focus distressing on areas that realistically show wear like edges and corners |
Distressing: Imbuing Character with Worn, Weathered Charm
[Distressing] involves manually creating wear, cracks, and imperfections on wood surfaces. It leaves projects with a timeworn, rustic aesthetic full of personality.
To start, gather essential tools like…
Specializing Stains Through Antiquing
Beyond ordinary stains that simply tint wood, [woodworking artisans] use a process called [antiquing] to make pieces appear decade-old. [Antiquing] employs colored glazes, oils, or gel stains hand-wiped onto surfaces to instill depth.
When [antiquing], first prep the wood by…
Preventing Blotchiness
It’s vital to control stain absorption so [antiquing] looks realistic. Consider using a pre-stain conditioner so the glaze or gel penetrates evenly. Test on scrap pieces first.
Varying Tone for Realism
Keep glaze layers thin and wipe some areas to be darker or lighter. This natural variation in color better replicates aged, antique furniture.
Faux Finishes: Transforming Wood’s Look with Artful Illusions
[Faux finishing] uses painting techniques, tools, and glazes to create life-like illusions of different materials on wood. Types of faux finishes include:
- Wood grain – Simulates oak, maple, mahogany, etc.
- Marble/stone – Recreates veined mineral patterns
- Rusted patina – Imitates corroded, weathered metals
- Crackle – For aged, alligatored textures
Some fundamental faux finishing skills involve using brushes, rags, sponges and…
Starting Simple
Beginners should start with basic wood grain or wash techniques. As skills improve, tackle marbling, reptilian textures, and trompe l’oeil decoration.
Investing in Quality Supplies
Don’t skimp on paints or glazes. High-end faux finishing products have superior workability for smoother applications.
Recommended Products for Stunning Finishes
Achieving professional antiquing or faux painted looks relies on using top-grade supplies fit for a finish master. Here are some go-to recommendations:
Gel Stains – Old Masters Gel Stain – Rich pigments for deep, translucent colors – General Finishes Gel Stains – Vibrant tones, maximum cling to vertical surfaces
Glazes
– Modern Masters Metal Effects – Adds convincing rust and patina – Saman Stain/Glaze – Builds customizable antiqued looks
Brushes & Tools – Dixie Belle Chameleon Fan Brush – Ideal for smooth faux wood grain finishing – Ramon Brand Faux Finishing Tool Set – Great for beginners
Check specialty woodworking retailers to find these and other advanced finishing products.
Achieving Museum-Quality Looks Takes Practice
Through [distressing], [antiquing], faux painting and more, woodworkers can make their projects transcend the ordinary. Experiment with these techniques to discover your signature style. We would love to see your artistic creations – share your images online and inspire others in the [woodworking community]!
Consider taking an in-depth finishing class at a local woodworking store to refine your skills hands-on. With the right materials and practice, you’ll be distressing, aging and faux finishing like a master.
FAQs: Common Wood Finish Questions
What are some beginner-friendly faux finishes?
For faux finishing newcomers, start with basic wood grain and wash techniques using glazes, rags, and brushes. Create practice boards until you feel comfortable creating textures and depth effects.
How do I antique pine furniture?
Apply a gel stain first in a typical staining process. Next, wipe on an oil-based glazing liquid with a rag. Remove excess glaze on corners and edges for a worn look. Add topcoats for protection.
What paint colors work best for distressing?
Light tone paints like white, cream, light blue or gray enable cracks and exposed wood to show through best when distressed. Distressing also excels on contrasting paint combinations.
Can I use wood conditioner before antiquing?
Yes, wood conditioners are highly recommended so stains and glazes absorb evenly into the wood. This prevents blotchiness for a convincing aged antique look.
What tools do I need for advanced faux finishes?
Having quality faux finishing brushes is key – from chisel-edge to deerfoot to comb styles. Also use unique tools like crumpled paper, stiff-bristled scrub brushes, sponges, and more.
How long should gel stains dry before adding topcoats?
Gel stains take longer to fully cure than regular stains – about 72 hours on average. Let gel stains dry thoroughly before adding any protective clear coats or finishes.
What are the best tips for distressing furniture?
Work in stages and start subtle; you can always distress more but it’s hard to undo it. Focus on areas that commonly show wear like edges and corners. Use realistically random patterns. And take your time!

