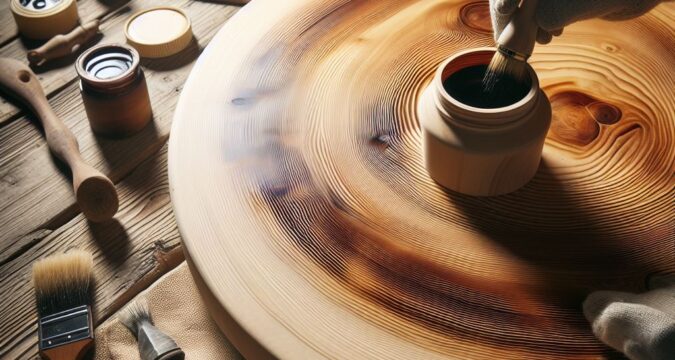
Finishing wood properly is a crucial final step for any woodworking project. According to research from Minwax, over 90% of woodworkers feel intimidated by the wood staining and finishing process. However, with the right techniques and products, even beginners can achieve beautiful, long-lasting wood finishes. This comprehensive guide covers everything you need to know about essential wood finishes – stains and paints.
| Key Takeaways |
|---|
| Proper surface preparation (sanding, filling holes) is crucial for even stain application and adhesion |
| Types of stains: oil-based (durable, richer color), water-based (faster drying), gel (color control) |
| Apply 2-3 thin, even coats of stain or paint in direction of wood grain |
| Seal stains and paints; polyurethane offers best protection |
| Distressing techniques (glazing, dry brushing) create vintage looks |
| Touch up nicks/scratches; refresh finish every 3-5 years |
| Test stains first to choose right color and avoid blotchiness |
| Adhere to proper drying times between coats |
| Use quality brushes and stir sticks |
| Work in a dust-free area |
Types of Wood Stains
Oil-based stains are highly durable and bring out a rich, warm glow in wood grain. However, they take longer to dry than other options. are easier to apply as they dry faster and clean up with water. They allow for more custom effects like pickling and whitewashing. Gel stains offer superior color control and resist dripping and blotchiness.
Stains come in a wide palette of natural wood tones like cherry, walnut, and mahogany. You can also choose darkening stains for deeper colors without obscuring wood grain.
Preparing Wood Surfaces for Staining
Proper prep work ensures stain absorption and adhesion. Sanding smooths wood and opens pores – a 100-150 grit finish is ideal. Filling any holes or cracks gives an even finish. Conditioners prevent blotchiness on soft woods like pine by evening out stain absorption. Always test stains on wood scraps first.
“Taking the time to properly prepare surfaces prevents many staining issues down the road.” – Wood Finishing Expert
Applying Stains
Foam or high-quality bristle brushes give flawless results. Use thin, even coats in the direction of the wood grain, maintaining a wet edge. Most stains require 2-3 coats for full, vibrant colors, drying 2 hours between coats. to prevent tackiness, drips, or uneven tones. Troubleshooting issues like blotchiness often comes down to insufficient surface prep.
Sealing Stains
Sealing stained wood protects color evenness and provides a base for additional finishes. Polyurethane offers the best durability – 3-4 thin coats creates a glass-smooth surface. Varnish brings out wood richness but requires careful application to avoid bubbles. Non-toxic shellac dries fast, retaining natural appearance. Always apply sealers in clean environments – dust is the enemy!
Painting Wood
Paints completely transform wood tones while allowing for distressing techniques not possible with stains. Prime wood before painting, then apply 2-3 thin, even coats of high-quality latex or oil-based paint. Wait proper curing times between coats – at least 24 hours for latex. Finishing wax top coats enhance sheens.
Distressing techniques like glazing and dry brushing create vintage, timeworn looks once paint has cured. Always seal paints – top coats like polyurethane offer the best protection.
Caring for Finished Wood
Use coasters, placemats and tablecloths to guard finishes. Dust often and clean with a soft, lint-free cloth and mild cleaner like dish soap and water.
Touch up minor nicks and scratches using the original product. Refresh finishes that show wear after 3-5 years – scuff sand, wipe away dust, and reapply top coats.
Key Takeaways
- Proper surface prep is key to beautiful wood staining and finishing
- Oil and water-based stains, gel stains, paints, and clear top coats all serve different aesthetic purposes
- Always apply finishes in a dust-free area and pay attention to drying times
- Seal and protect paint and stain finishes with polyurethane or varnish
- Touch up worn finishes every few years to keep wood looking its best
Still have questions? Ask our wood finishing experts in the comments!
FAQs
What is the difference between stains and paints?
Stains soak into wood, enhancing natural grain patterns and colors. Paints cover the wood surface with opaque, colorful pigment.
How do I know what type of wood stain/paint to use?
Consider the existing wood color and type (softwood vs. hardwood) along with the aesthetic look you wish to achieve. Test products first.
What supplies do I need to get started with wood staining?
Quality brushes, stir sticks, rags, wood conditioner and filler, preferred stain(s), sealer like polyurethane, and personal protective gear.
What are some beginner wood staining mistakes I should avoid?
Failing to properly prepare surfaces, not testing stains first, applying improper coatings for wood type, ignoring drying times, and neglecting to seal finishes.
How long does it take for wood stain/paint to dry?
Oil-based stains take 6-8 hours between coats. Water-based stains dry in 2 hours. Paint takes at least 24 hours between coats.
External Links
Minwax wood finishing statistics

