


Introduction
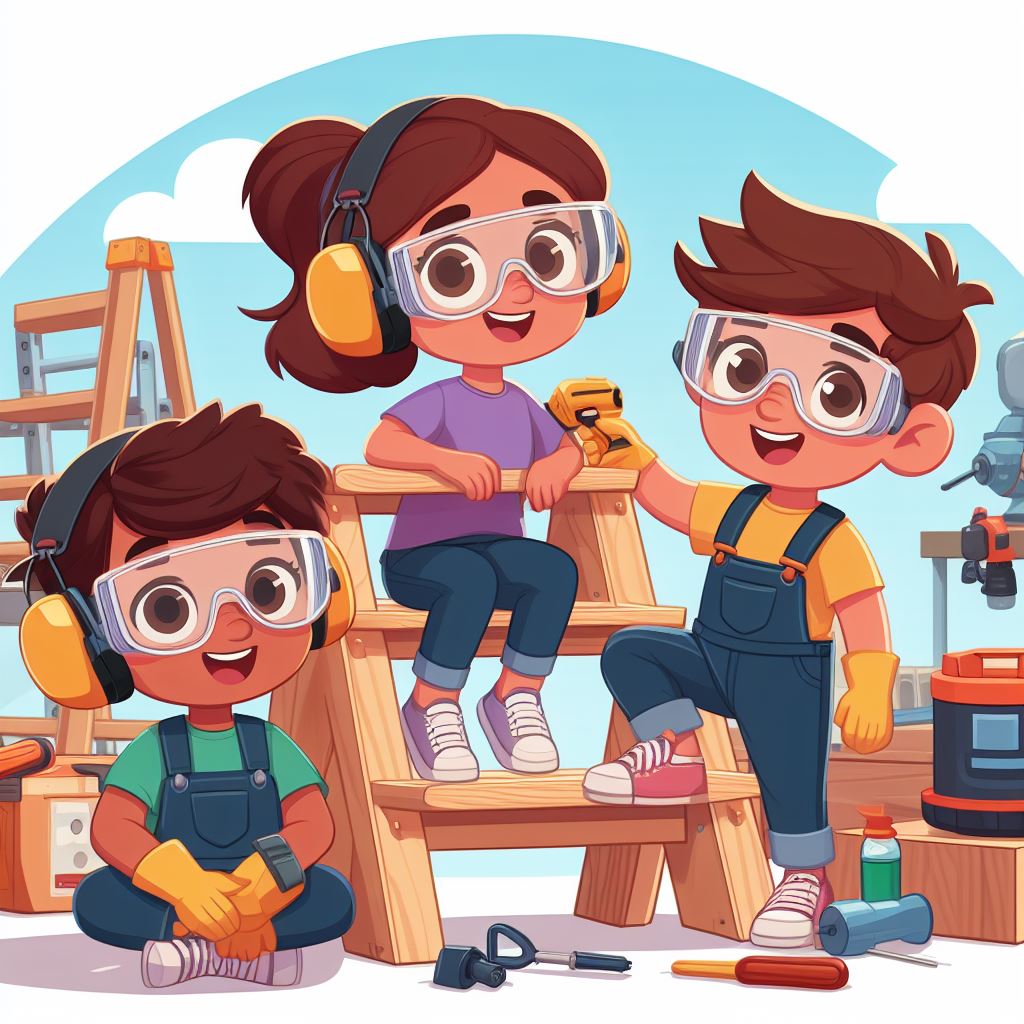
Are you searching for engaging and educational activities to enjoy with your kids? Woodworking can be a fantastic way to ignite their creativity, develop problem-solving skills, and spend quality time together. In this comprehensive guide, we will explore a variety of DIY woodworking projects specifically designed for kids. We will ensure that your kids have a safe and enjoyable experience by starting with simple projects and gradually progressing to more challenging ones. Let’s get started on this exciting woodworking journey!
Safety First
Woodworking Safety Guidelines
Prioritizing safety is paramount when introducing kids to woodworking. Here are some essential safety guidelines to follow:
1. Supervision
Always supervise your children during woodworking projects, ensuring they have proper guidance and support.
2. Safe Tool Handling
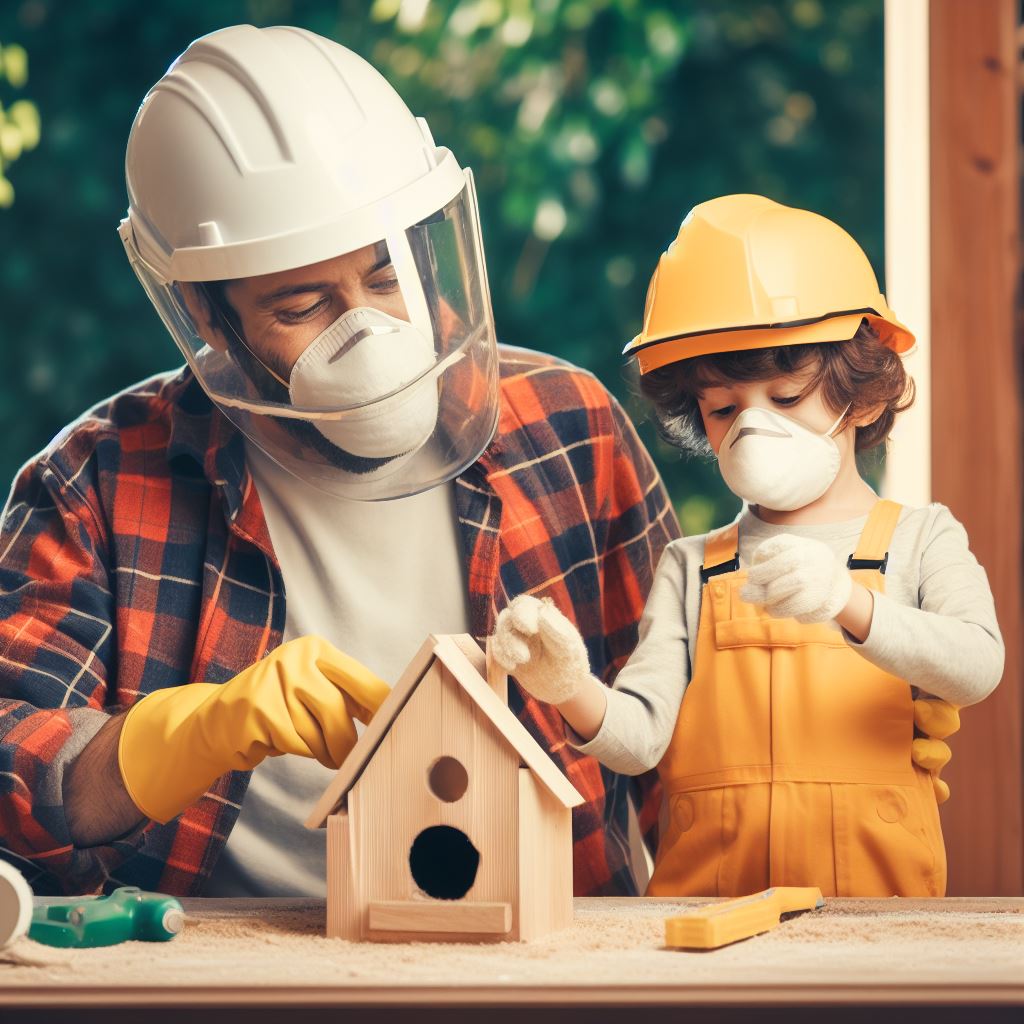
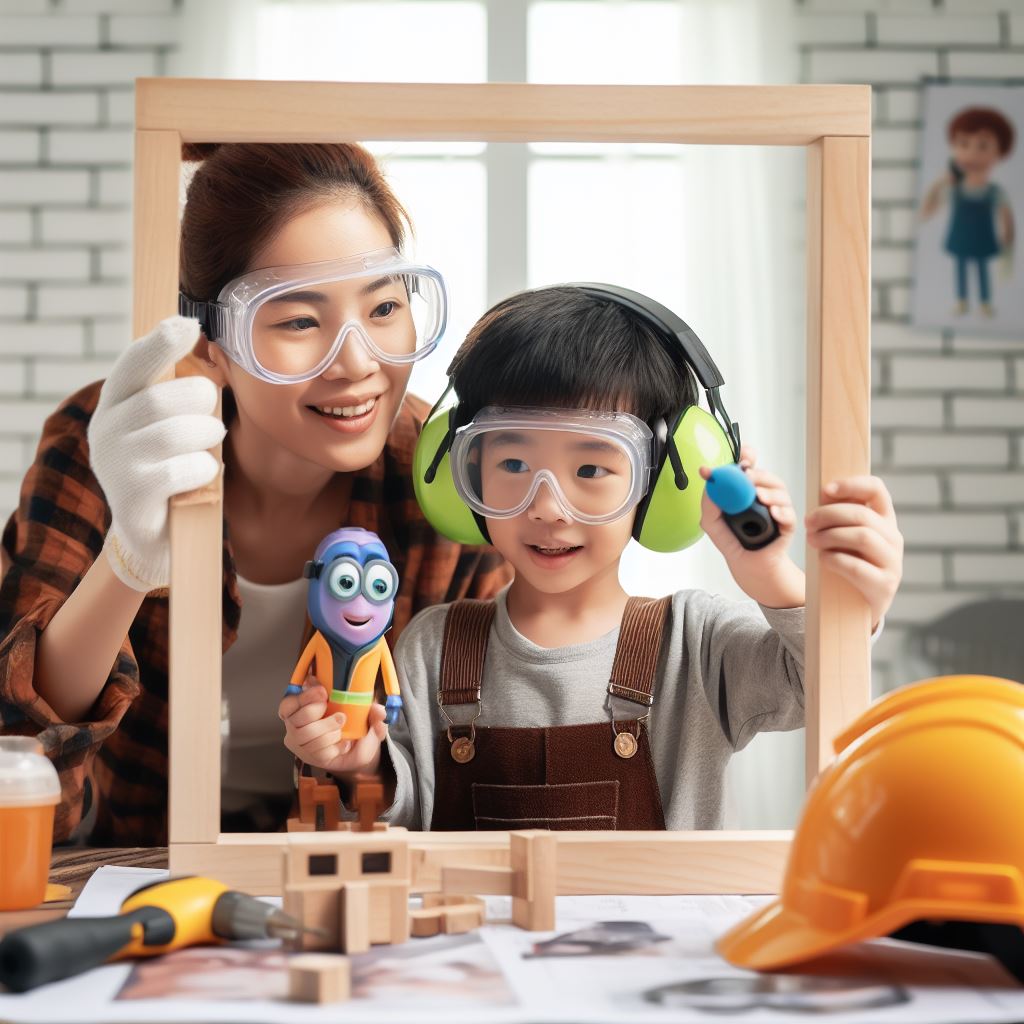
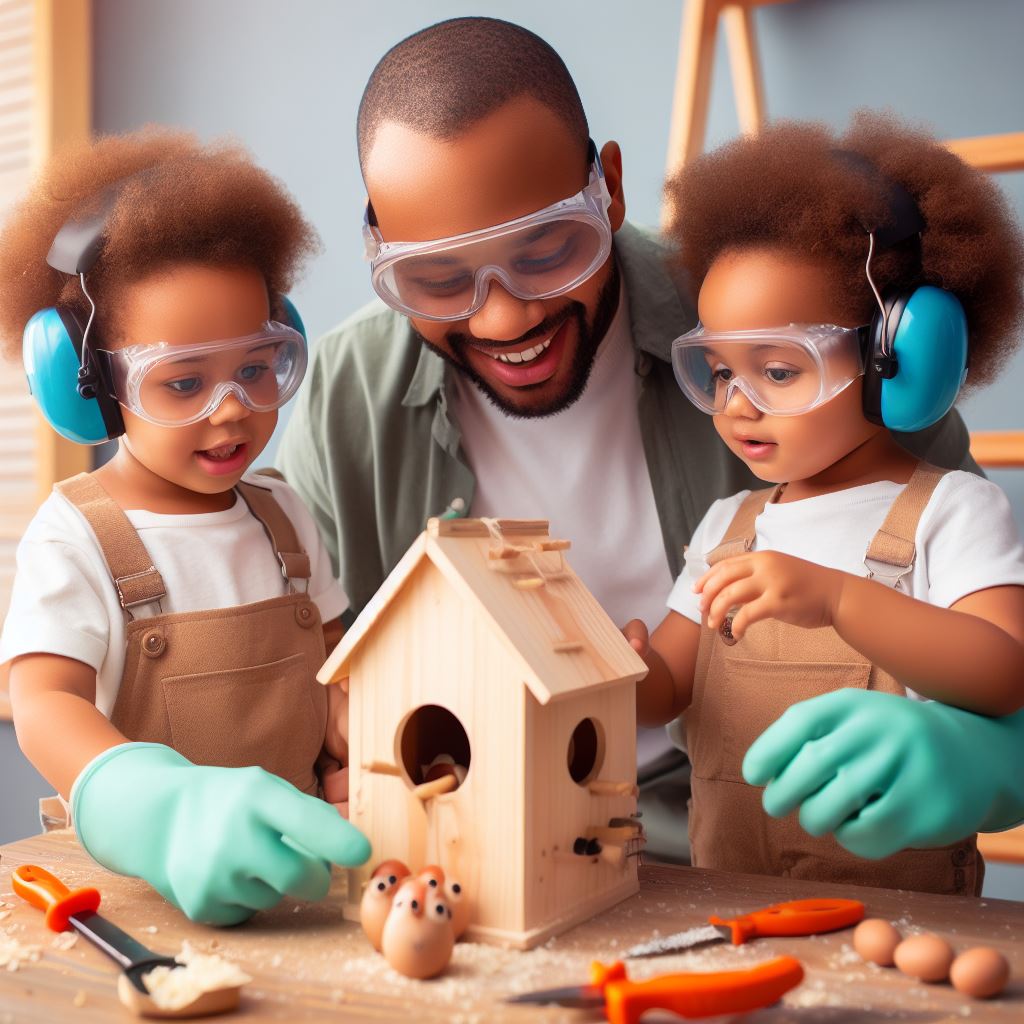
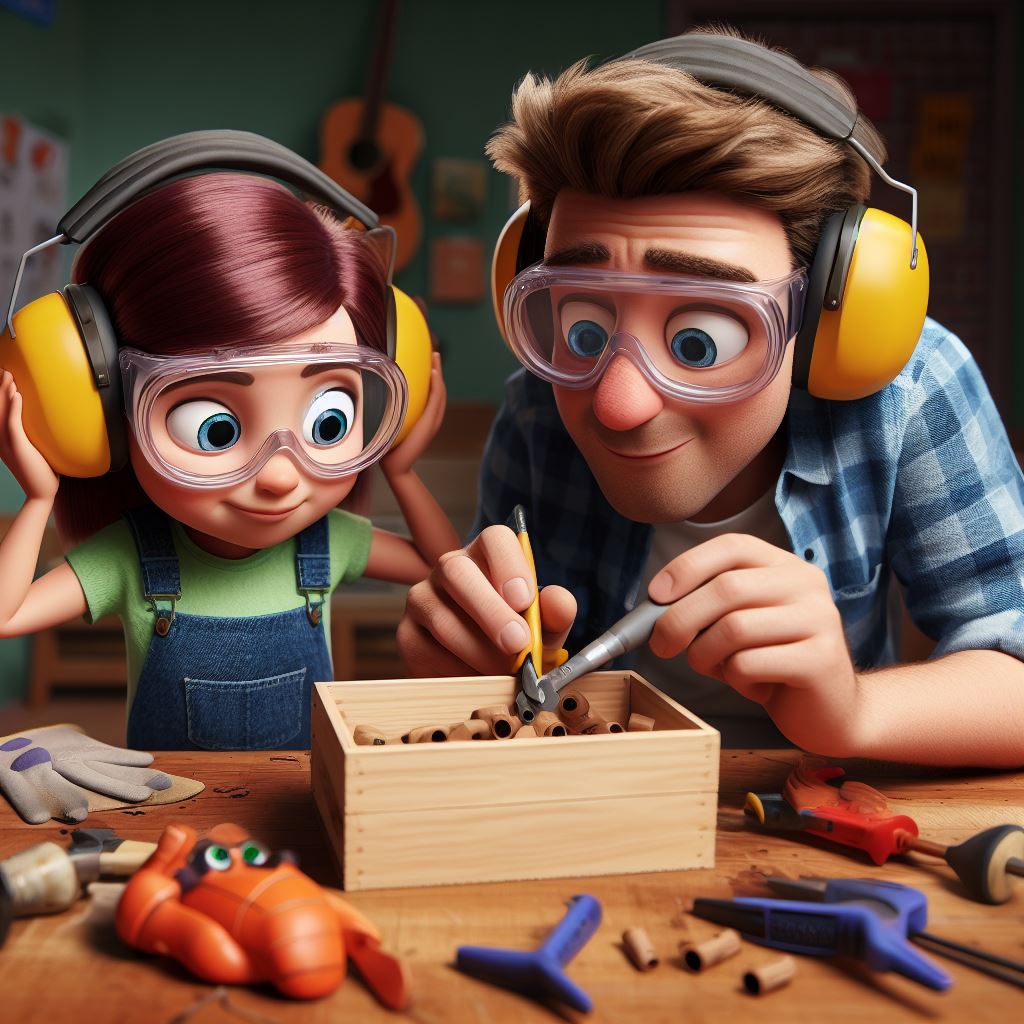
Teach your children how to handle tools safely. Emphasize the importance of wearing safety gear, including safety glasses and ear protection.
3. Age-Appropriate Tools
Select age-appropriate tools and materials for each project, considering your child’s age and skill level.
4. Organized Workspace
Maintain a well-organized workspace, free from tripping hazards, and make sure it is conducive to safe woodworking.
Key Takeaways
| Safety Guidelines | Key Takeaways |
|---|---|
| Supervision | Always supervise your children during woodworking projects. |
| Safe Tool Handling | Teach your children the safe handling of tools and the importance of safety gear. |
| Age-Appropriate Tools | Choose tools and materials suitable for your child’s age and skill level. |
| Organized Workspace | Keep the workspace organized and free from tripping hazards. |
Simple Woodworking Projects
1. Wooden Picture Frame
Materials Needed
- Wooden pieces (pre-cut or cut with adult supervision)
- Wood glue
- Sandpaper
- Paints and brushes
- Decorative elements like stickers or beads
Project Description
The wooden picture frame is a perfect starting project. It’s simple, and your kids can use it to display their favorite photos. Here’s how to do it:
- Assemble the wooden pieces: Begin by arranging the wooden pieces into a rectangle, leaving an opening for the photo.
- Glue the pieces: Use wood glue to secure the pieces together, forming the frame. Be sure to apply the glue evenly and press the pieces firmly.
- Sand and smooth: After the glue has dried, sand the frame’s edges to ensure a smooth finish.
- Paint and decorate: Let your child choose their favorite colors and decorate the frame with paint, stickers, or beads.
- Insert the photo: Once the frame is dry, insert a cherished photo and display it proudly.
2. Birdhouse
Materials Needed
- Pre-cut wooden pieces
- Wood glue and screws
- Paints and brushes
- A piece of string for hanging
Project Description
Building a birdhouse is an excellent way to teach kids about nature and woodworking. Here’s how to do it:
- Assemble the birdhouse: Begin by fitting the pre-cut wooden pieces together to create the birdhouse’s structure.
- Glue and screw: Use wood glue to bond the pieces together securely. For added stability, use screws to reinforce the joints.
- Paint and decorate: Let your child unleash their creativity by painting and decorating the birdhouse. Bright, attractive colors can attract birds.
- Hang it up: Attach a piece of string to the birdhouse, and hang it in your garden. Birds will soon make it their new home!
3. Treasure Chest
Materials Needed
- Wooden pieces (pre-cut or cut with adult supervision)
- Wood glue and small hinges
- Paints and brushes
- Decorative elements like gems or stickers
Project Description
Let your kids embark on a treasure hunt by building their own treasure chest. Here’s how to do it:
- Assemble the chest: Start by assembling the wooden pieces to create the chest’s structure. Ensure the lid can open and close.
- Glue and hinge: Use wood glue to secure the pieces together. Attach small hinges to the lid to allow it to open and close.
- Paint and decorate: Encourage your child to get creative with their choice of colors and decorations. Gems, stickers, and paint can bring the chest to life.
- Store treasures: Once the treasure chest is dry, your child can use it to store their precious treasures.
Intermediate Woodworking Projects
4. Step Stool
Materials Needed
- Wooden pieces
- Screws and a screwdriver
- Wood glue
- Sandpaper
- Paints and brushes
Project Description
A step stool is a useful and slightly more complex project. It’s perfect for teaching your child woodworking skills and practicality. Here’s how to do it:
- Assemble the step stool: Begin by fitting the wooden pieces together to form the step stool’s structure.
- Glue and screw: Use wood glue to secure the pieces in place. Reinforce the joints with screws to ensure stability.
- Sand and paint: Sand the edges to create a smooth finish. Let your child choose the colors and paint the step stool as they like.
- Practical use: Once dry, your child can use the step stool to reach high places, fostering their independence.
5. Wooden Coasters
Materials Needed
- Wooden squares (pre-cut or cut with adult supervision)
- Sandpaper
- Paints and brushes
- Varnish for protection
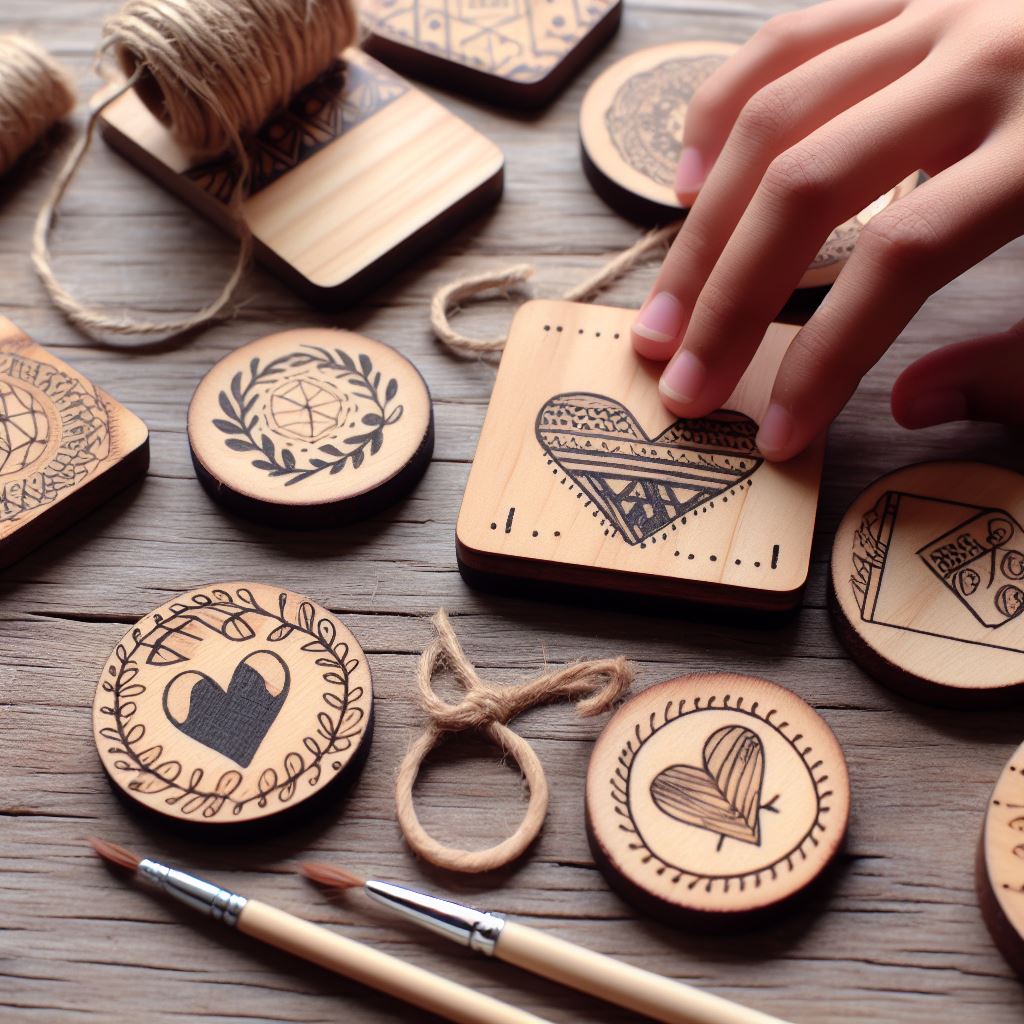
Project Description
Wooden coasters are functional and decorative. Your child can proudly use their custom coasters, and this project enhances sanding and painting skills. Here’s how to do it:
- Sand the coasters: Begin by sanding the wooden squares to create a smooth surface on all sides.
- Paint and decorate: Encourage your child to choose their favorite colors and paint the coasters. Let them add decorative details as desired.
- Apply varnish: To protect the coasters from spills, apply a clear varnish to create a glossy finish.
- Use and display: Once dry, the coasters are ready for use, either for drinks or as decorative pieces.
6. Pencil Holder
Materials Needed
- Wooden pieces
- Wood glue
- Sandpaper
- Paints and brushes
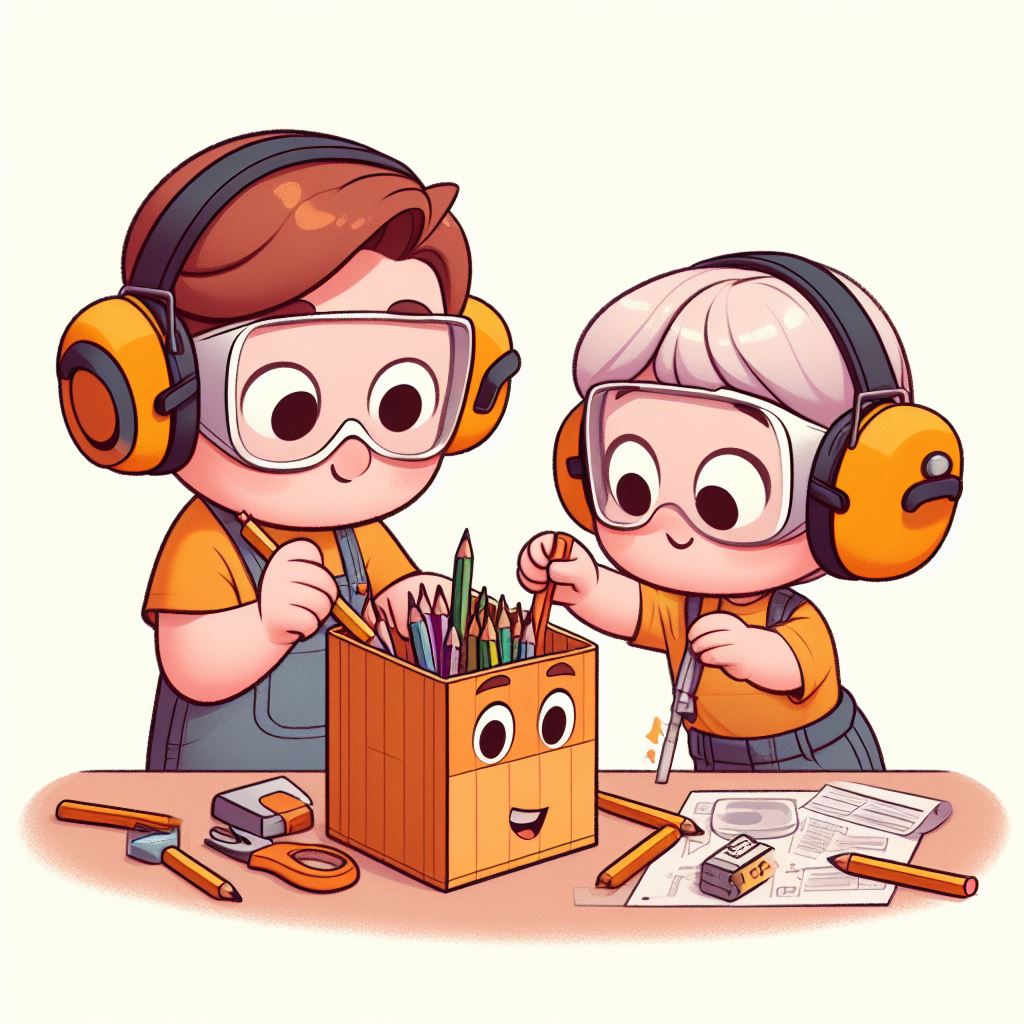
Project Description
Encourage organization with a handmade wooden pencil holder. This project keeps school supplies neat and organized, teaching woodworking and practicality. Here’s how to do it:
- Assemble the pencil holder: Fit the wooden pieces together to create the pencil holder’s structure.
- Glue the pieces: Use wood glue to bond the pieces together securely, ensuring a stable
structure.
- Sand and smooth: After the glue has dried, sand the pencil holder to create a smooth and polished finish.
- Paint and decorate: Let your child’s creativity shine as they paint and decorate the pencil holder. They can choose colors, patterns, or even add their name.
- Organize stationery: Once the pencil holder is dry, your child can use it to keep their pencils, pens, and other stationery organized on their desk.
Advanced Woodworking Projects
7. Toy Car
Materials Needed
- Wooden pieces
- Small wheels and axles
- Screws and a screwdriver
- Sandpaper
- Paints and brushes
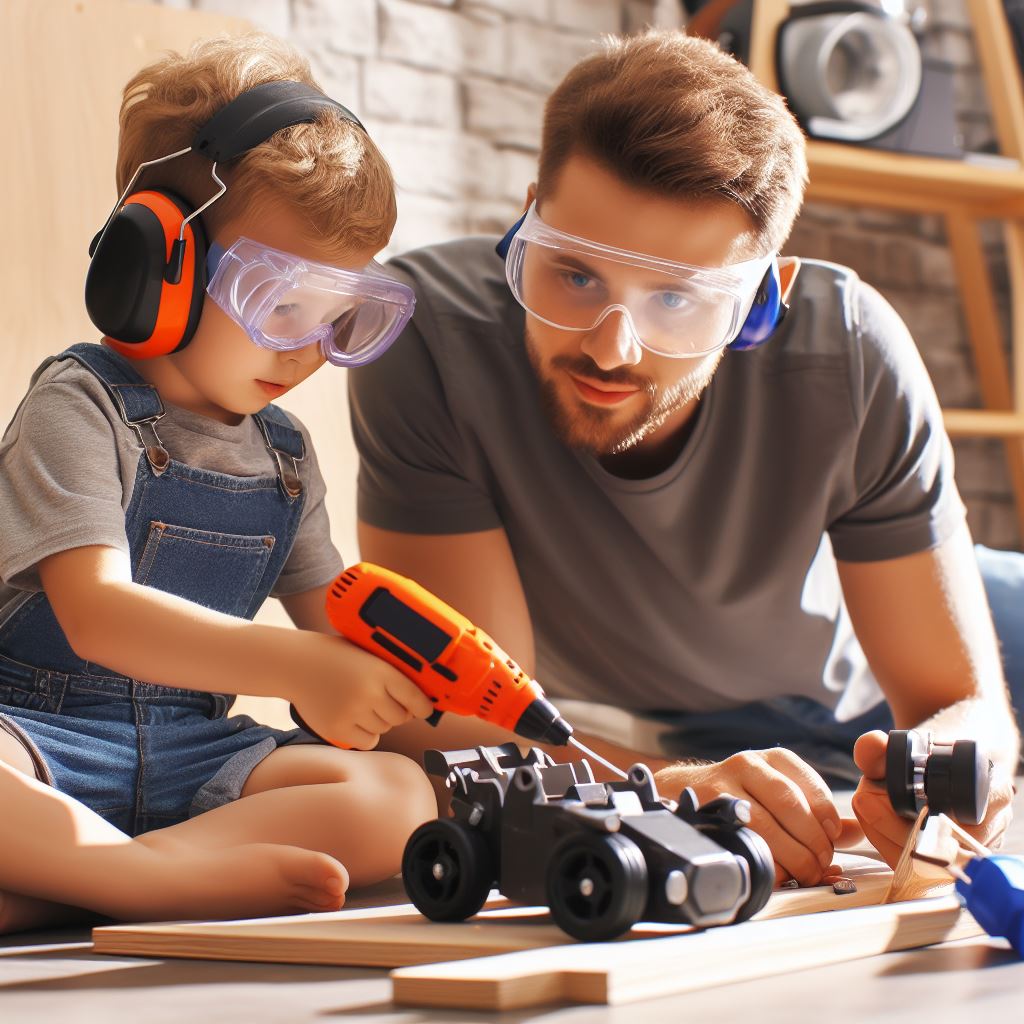
Project Description
Building a wooden toy car is a challenging and rewarding project. Your child can customize the design and paint their unique toy car, enhancing fine motor skills and creativity. Here’s how to do it:
- Assemble the car: Begin by fitting the wooden pieces together to create the car’s body, ensuring there are holes for the wheels and axles.
- Attach wheels and axles: Secure the small wheels and axles in place using screws. Ensure the wheels can spin freely.
- Sand and smooth: Sand the car’s edges and surfaces for a polished finish, ensuring there are no rough edges.
- Paint and decorate: Let your child choose the colors, patterns, and any additional decorations to make their toy car unique.
- Play and enjoy: Once dry, your child can play with their custom wooden toy car, fostering both creativity and fine motor skills.
8. Mini Bookshelf
Materials Needed
- Wooden pieces
- Wood glue and small nails
- A saw for cutting
- Sandpaper
- Paints and brushes
Project Description
A mini bookshelf is an advanced project that teaches precision. It’s perfect for displaying favorite books and introduces kids to measuring, cutting, and assembling. Here’s how to do it:
- Assemble the bookshelf: Start by fitting the wooden pieces together to create the bookshelf’s structure.
- Glue and nail: Use wood glue to bond the pieces together, reinforcing the joints with small nails for stability.
- Sand and paint: Sand the bookshelf’s surfaces and edges to ensure a smooth finish. Let your child choose the colors and paint it as they prefer.
- Display books: Once the bookshelf is dry, your child can proudly display their favorite books and learn about organization.
9. Jewelry Box

Materials Needed
- Wooden pieces
- Wood glue and small hinges
- Sandpaper
- Paints and brushes
- Felt or velvet for the interior
Project Description
A jewelry box project combines woodworking and personalization. It requires precision and attention to detail, making it an excellent challenge for older kids. Here’s how to do it:
- Assemble the box: Start by fitting the wooden pieces together to create the box’s structure. Ensure the lid can open and close.
- Glue and hinge: Use wood glue to secure the pieces together. Attach small hinges to the lid to allow it to open and close smoothly.
- Sand and smooth: Sand the edges and surfaces of the jewelry box to create a polished finish.
- Paint and decorate: Let your child express their creativity by painting and decorating the jewelry box. They can add intricate designs and patterns.
- Line the interior: Glue felt or velvet inside the jewelry box to create a soft and protective lining for jewelry and keepsakes.
- Store treasures: Once the jewelry box is dry, your child can use it to store their precious jewelry or small mementos.
Conclusion
Engaging in DIY woodworking projects with your children is a wonderful way to bond, learn, and create together. By following safety guidelines and starting with simple projects, your kids can gradually develop their woodworking skills. These projects not only provide fun and creativity but also teach valuable life skills. So, grab your tools, pick a project, and let the woodworking adventure begin!
Remember, the key to a successful woodworking experience with kids is patience, encouragement, and, most importantly, having fun. Happy woodworking!
🔗 Explore more woodworking ideas on Sawdustforbrains