


When choosing wood for a cutting board, you’ll want to use a hardwood rather than a softwood. Hardwoods like maple, cherry, walnut, or teak are dense and durable, perfect for resisting nicks and cuts. The wood should be kiln dried with a moisture content of 6 to 8% to prevent future warping. Avoid exotic woods with open grains, which can harbor bacteria. For beginners, maple is an excellent choice as it’s affordable, abundant, and stains less than other woods.
Key Takeaways
- Select hardwoods like maple or cherry for durability
- Determine ideal board size based on countertop space
- Sketch wood grain layout to prevent splitting
- Buy extra wood boards to allow for defects
Consider the size of the cutting board in relation to your countertop workspace. Common sizes range from 8″x12″ for small tasks, to up to 18″x24″ for larger food prep work. A good starter size is 12″x18″. Cutting boards should be at least 3/4″ thick for proper durability. Take measurements so you can calculate the exact board dimensions and wood needed.
Since wood grain runs parallel with the length of the board, you’ll need to align the grain properly to prevent splitting. Cut the wood pieces so the grain runs vertically across the narrower width of the board. The simplest design is a two-board striped pattern. But you can also alternate wood species for a checkerboard effect. Sketch your desired layout to determine the size and number of strips needed.
Once you’ve determined the size and wood types, purchase your materials from a local hardwood supplier. You’ll need several board feet of each type of wood for your strips based on your cutting plan. Expect to spend $50-$100, depending on wood choices. Buy a few extra boards to allow room for defects. Other supplies needed include wood glue, clamps, and sandpaper.
Calculating Board Feet of Wood Needed
Use this formula to determine the board feet of wood required:
Board feet = (Width in inches x Length in inches) / 144
For example, for a 12″ x 18″ cutting board:
(12 x 18) / 144 = 1.5 board feet
Add up the board feet for each wood type. Buy 10-20% more to allow for cutting loss.
When planning your woodworking project, it’s essential to calculate the amount of wood you’ll need. Here’s a handy table to help you determine how much wood you’ll require based on the wood type and board dimensions:
| Wood Type | Board Dimensions | Board Feet Needed |
|---|---|---|
| Maple | 1″ x 6″ x 12′ | 1 |
| Cherry | 1″ x 6″ x 12′ | 0.5 |
| Walnut | 1″ x 6″ x 12′ | 0.5 |
| Total | 2 extra boards |
This table breaks down the wood type, its dimensions, and the number of board feet needed. It’s a handy reference when you’re planning your woodworking projects. Keep in mind that having a couple of extra boards can be a good idea to account for any errors or unexpected changes in your project.
Purchasing Materials
Here is a checklist of items to purchase:
- Wood boards in needed dimensions
- Food-safe wood glue (Titebond)
- Sandpaper (80, 100, 150 grit)
- Food-safe finish (mineral oil, beeswax)
- Clamps
- Clean rags
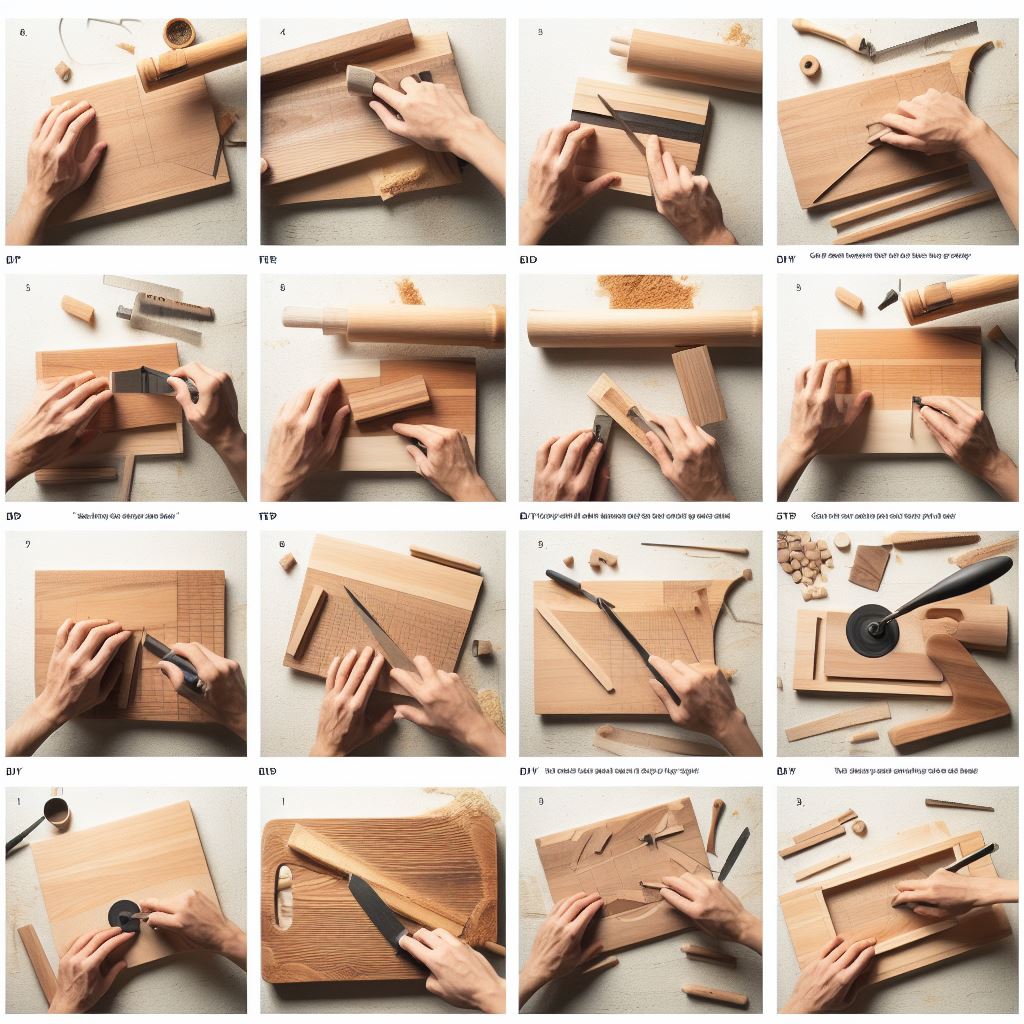
Now it’s time to start the actual woodworking! Based on your plan, cut the wood boards down into strips following these steps:
- Set the miter saw blade height to just over 3/4″ to account for final sanding.
- Cut each board down to strips of the widths needed.
- Cut strips longer than the final dimensions to allow for trimming.
- Check each strip to ensure the grain runs the length of the board.
Once all the strips are cut, it’s time for assembly:
- Lay out strips in the desired pattern following your diagram.
- Apply wood glue in a zigzag pattern over each joint.
- Clamp strips together tightly using painter’s tape as clamp protection.
- Allow glue to cure fully overnight before removing clamps.

After the glue has cured:
- Trim board edges with circular saw to desired dimensions.
- Sand top and bottom surfaces up to 150 grit with orbital sander.
- Ease top edges with a small router roundover bit.
- Finish sanding by hand up to 220 grit.
You’re in the home stretch now! Apply a food-safe finish and your cutting board will be ready for slicing and dicing.
- Wipe board thoroughly with a clean rag to remove dust.
- Apply a generous coat of food-safe mineral oil, massaging into the wood grain.
- Allow oil to soak in for 30-60 minutes.
- Wipe entire surface completely dry with clean rags.
- Allow to cure fully for 24 hours.
- Apply a second coat of oil and wipe dry.
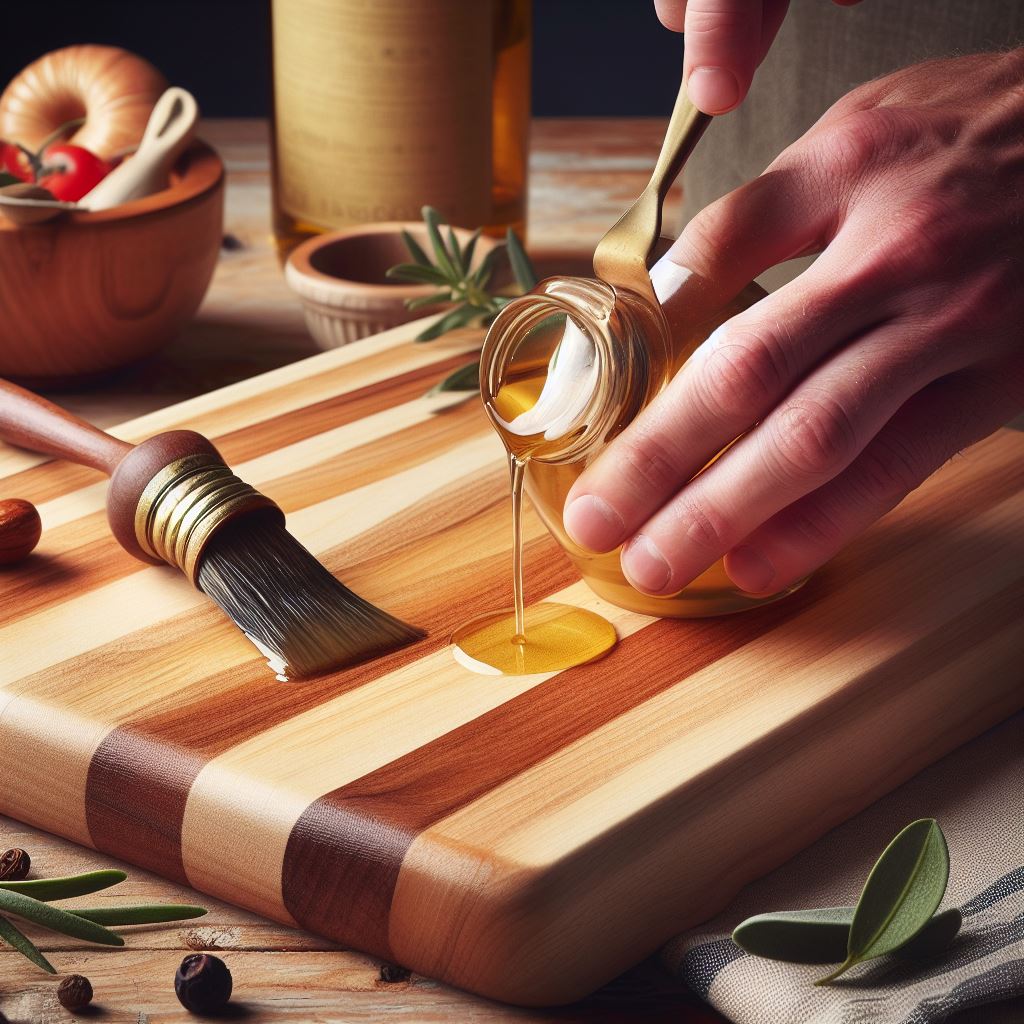
For extra protection:
- Apply a thin coat of food-safe beeswax paste wax.
- Buff wax thoroughly with clean cotton rags.
- Allow wax to cure overnight.
- Hand wash with warm soapy water, dry completely.
- Reapply oil monthly to maintain the finish.
- Avoid soaking or running through the dishwasher.
- Scrape off deep cuts and nicks with a metal scraper.
- Sand surfaces periodically to refresh.
Congratulations, you now have a beautiful handmade wooden cutting board! With proper care it will last for many years.
For some other ideas for making your own cutting boards try these great YouTube videos:
- Make a wooden cutting board: 4
- Beginner woodworking project: Make a cutting board:
- How to make a beginner’s wooden cutting board:
- Woodworking for beginners: How to make a cutting board:
- Make a simple wooden cutting board:
📘