


Learn about the different types of woodworking finishes, how to apply them, and how to choose the right finish for your project.
Woodworking finishes are essential for protecting and beautifying wood projects. The right finish can enhance the natural beauty of the wood, while also protecting it from moisture, stains, and wear and tear.
In this comprehensive guide, we will cover everything you need to know about woodworking finishes, including:
- What are woodworking finishes and why are they important?
- The different types of woodworking finishes
- How to prepare the wood surface
- Application methods for different finishes
- Tips for choosing the right finish
- Common problems and how to avoid them
Understanding wood finishes is crucial for achieving professional-looking results for any woodworking project. Whether you are refinishing furniture or building a new table from scratch, this guide will help you select and apply the perfect finish.
Key Takeaways
| Finish Type | Description | Benefits | Drawbacks |
|---|---|---|---|
| Penetrating Finishes | Soak into wood pores instead of leaving a film on the surface. Examples are tung oil, Danish oil, linseed oil. | Allow natural wood grain to shine through, easy application, mild protection. | Limited protection compared to surface finishes, need frequent reapplication. |
| Surface Finishes | Sit on the wood surface, forming a protective coating. Examples are polyurethane, varnish, shellac. | Highly protective against moisture, spills, scratches. Various sheens available. | Can show brush strokes and imperfections. More prep work required. |
| Finish Choices | Considerations |
|---|---|
| Type of Wood | Softwoods benefit from penetrating oils. Open-grained woods benefit from moderate surface finishes. Closed-grain woods can handle thicker surface finishes. |
| Desired Appearance | Natural wood grain or smooth surface? Gloss level preference? Color – clear, amber, stained? |
| Use and Maintenance | Indoor or outdoor use? Heavy-use or occasional? Easy maintenance required? Match existing finishes? |
| Environmental Factors | Needs to be food-safe? Moisture or chemical resistant? |
| Common Problems | Prevention |
|---|---|
| Blotchy, uneven appearance | Thoroughly clean and sand wood. Use wood conditioner. |
| Bubbles in finish | Stir gently. Apply thin coats. Check humidity. |
| Brush marks | Use quality brushes. Allow drying time. Thin coats. |
| Dust/debris | Wipe and vacuum before finishing. Work in clean area. |
| Hazy appearance | Thin coats of oil, wipe gently. Ensure finish compatibility. |
What Are Woodworking Finishes?
Woodworking finishes are protective coatings that are applied to wooden objects and furniture. Finishes serve two primary purposes:
- Protect the wood from damage. Finishes seal and protect the porous surface of wood from moisture, spills, UV damage, scratches and other environmental factors that can deteriorate the wood over time.
- Enhance the beauty of the wood. Finishes bring out the natural grain patterns and colors of different wood species. They can provide effects ranging from a natural matte look to a deep, hand-rubbed luster.
Without a protective finish, bare wood would easily stain, crack, or warp when exposed to everyday use. The right finish transforms raw wood into a beautifully finished work of art while also protecting it for the long haul.
Common examples of woodworking finishes include:
- Oil-based finishes like tung oil or Danish oil
- Water-based finishes like acrylics and water-based polyurethane
- Wax finishes
- Varnishes
- Shellac
- Lacquer
Why Apply a Wood Finish?
There are several benefits that make applying a finish an essential part of most woodworking projects:
1. Protection from Moisture
Bare wood easily absorbs and loses moisture from the surrounding environment. As moisture content changes, the wood will shrink and expand, eventually causing small cracks and warping. A finish seals the pores in the wood to protect it from these shifts.
2. Protection from Spills and Stains
Finishes create a protective barrier that prevents stains from being absorbed into the bare wood. This helps finished wood objects resist water rings, food stains, and more.
3. Protection from UV Rays
Just like skin, prolonged sun exposure can damage wood over time. Using an opaque finish protects the wood from discoloration and damage caused by the UV rays in sunlight.
4. Protection from Scratches and Wear
Day-to-day nicks, dings, and scratches will accumulate on bare wood, slowly deteriorating the surface. A finish shields the vulnerable surface and makes it more resistant to everyday wear and tear.
5. Enhanced Beauty
Finishes accentuate the natural look and feel of the wood. For example, an oil finish enhances the depth and richness of the wood grain compared to unfinished wood. The finish draws out the inherent beauty of the wood.
Now that we’ve covered the basics of woodworking finishes, let’s take a look at the types of finishes available.
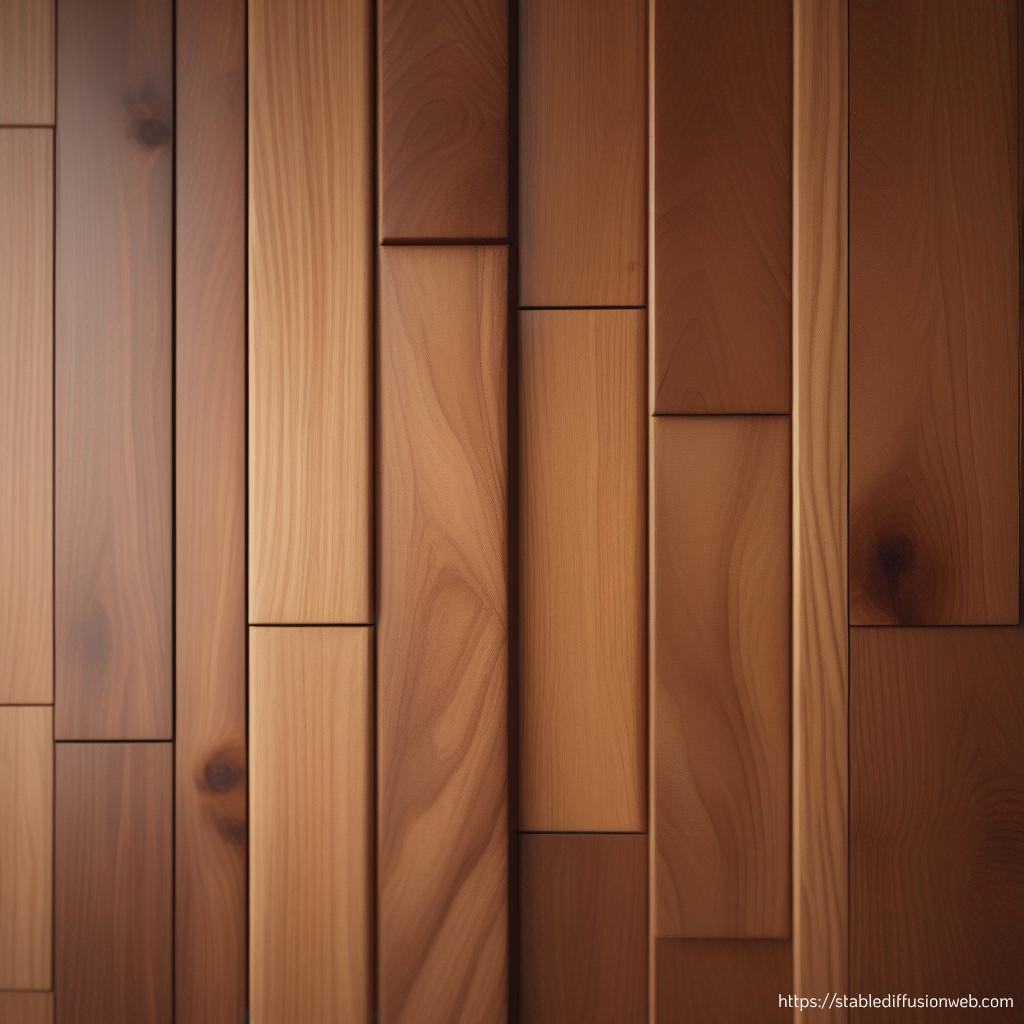
Types of Woodworking Finishes
There are many options when it comes to choosing a wood finish. Certain finishes are better suited for specific projects based on the desired look and level of protection needed.
The major categories of wood finishes are:
- Penetrating Finishes: soaks into the wood surface
- Surface Finishes: forms a protective coat on top of the wood
We’ll cover the characteristics of each category in more detail:
Penetrating Wood Finishes
Penetrating finishes soak into the wood pores instead of leaving a solid film on the surface. They accentuate the natural color and grain of the wood itself.
Common types of penetrating finishes include:
- Tung Oil: Offers good water resistance. Enhances natural wood tones. Multiple coats create a low-luster finish.
- Danish Oil: Contains varnish and tung oil to offer protection and mild amber coloring. Enhances depth of grain.
- Linseed Oil: Offers minimal protection on its own. Often used as a pre-treatment before applying varnish.
- Walnut Oil: Less amber color than other oils. Enhances natural color of light woods like maple or cherry.
- Teak Oil: Protects outdoor wood from water damage. Also used on indoor woods like teak and mahogany.
- Water-based Finishes: Offer fast drying and low odor compared to oils. Provide light protection for indoor wood surfaces.
The main benefits of penetrating oils are:
- Allow the natural beauty of the wood grain to shine through
- Easy to apply with cloth or brush
- Enhance color and provide mild protection
- Easily renewable by adding new coats of oil over time
The drawbacks are that protection is limited compared to surface finishes. Frequent reapplication is needed for continued protection.
Surface Wood Finishes
Surface finishes sit on top of the wood surface, forming a protective film or coating instead of soaking into the pores. This provides a more durable barrier against moisture, stains, and scratches.
Common types of surface finishes include:
- Varnish: Highly protective with a glossy finish. Can be applied in matte or high-gloss.
- Polyurethane: Extremely durable synthetic finish available in various sheens. Excellent moisture resistance.
- Shellac: Traditional finish made from lac beetle resin. Used as a sealer and mixed with wax for a soft sheen.
- Lacquer: Fast drying and highly durable. Easy to apply but vaporized solvents require respiratory protection.
- Wax: Provides minimal protection but results in an attractive low-luster finish. Easily renewable.
The benefits of surface finishes are:
- Highly protective against moisture, spills, and scratches
- Enhance wood grain while providing a smooth finished look
- Available in various sheens from matte to high-gloss
The drawbacks are that surface finishes can show imperfections or brush strokes. They require more prep work and care in application. The wood grain is slightly muted under the coating.
Now that we’ve covered the major categories of wood finishes, let’s go over how to prepare the wood surface before applying a finish.
Preparing the Wood Surface
Proper preparation is crucial for the finish to adhere correctly and achieve an even, professional-looking result. Follow these steps to prep unfinished wood:
1. Sand the Wood
Use coarse sandpaper (80-100 grit) to remove any rough areas, machine marks, or old finishes. Then switch to finer 120-150 grit sandpaper for the final smoothing. Sand with the grain direction to avoid cross-grain scratches.
2. Remove Dust
Wipe away all dust with a lint-free cloth or vacuum with a brush attachment. Any debris left behind can get stuck under the finish.
3. Fill Any Holes or Cracks
Use wood filler and allow time to dry thoroughly. Lightly sand the filled areas smooth once dry.
4. Clean the Surface
Use a cloth dampened with mineral spirits, paint thinner, or undiluted wood conditioner to remove any remaining oils, wax or dirt.
Once prepped, the wood is ready for the finish. Next, we’ll go through application methods for different types of finishes.
How to Apply Woodworking Finishes
The application method will vary slightly depending on the type of finish you choose:
Applying Penetrating Oil Finishes
Supplies Needed:
- Oil finish product
- Clean lint-free cloths
- Foam brush or rag
Steps:
- Prepare the wood surface as outlined above.
- Use a lint-free cloth or foam brush to liberally apply a thin, even coat of the oil finish.
- Allow 10-15 minutes for the oil to penetrate deeper into the wood. Reapply any areas that appear dry.
- Thoroughly wipe away any excess oil not absorbed by the wood using a clean cloth. Allow the finish to cure overnight.
- Apply up to 2-3 additional coats until the desired sheen is achieved, wiping away any excess after each application.
- Allow the final coat to cure for 24 hours before use. Additional coats may be applied over time as needed.
Applying Surface Finishes
Supplies Needed:
- Surface finish product (varnish, polyurethane, etc)
- High-quality natural bristle brush
- Lint-free cloths
- 220 grit sandpaper
- Painters tape (optional)
Steps:
- Prepare the wood surface as outlined above.
- Use painters tape to mask off any adjacent surfaces to prevent drips.
- Stir the finish thoroughly before starting.
- Use a high-quality natural bristle brush to apply a thin, even coat of the finish with the grain direction. Avoid excessive brushing which can create bubbles.
- Allow the finish to dry per manufacturer instructions. Lightly sand with 220 grit sandpaper to smooth any brush marks or dust nibs.
- Wipe away dust and apply additional coats until the desired sheen is achieved, sanding between each application.
- Remove painters tape immediately after the final coat. Allow the finish to cure fully before use.
Follow the manufacturer’s instructions closely when applying any finish product. Ventilate the workspace and allow plenty of drying time between coats.
Next, we’ll examine some tips for choosing the ideal woodworking finish for your next project.
How to Choose the Right Wood Finish
With all the options available, it can be daunting to select the best finish for your specific project. Here are some factors to consider when deciding on a wood finish:
1. Consider the Type of Wood
- Softwoods like pine benefit from penetrating oils to strengthen the porous surface.
- Open-grained woods like oak, ash, and mahogany benefit from moderate build surface finishes that fill the pores.
- Closed-grain woods like maple or cherry allow for thicker surface finishes without obscuring grain.
2. Desired Appearance
- Do you prefer a natural appearance that showcases the wood grain? Or a smooth surface coating?
- Gloss level preference – matte, satin, semi-gloss, or high-gloss?
- Color – clear, amber, or colored stain?
3. Use and Maintenance
- Where will the finished piece be located – indoors or outdoors?
- Will it experience heavy-use and need maximum protection?
- Is occasional maintenance feasible for reapplication of penetrating oils?
- Do you need to match existing finishes on other objects?
4. Environmental Factors
- Does the finish need to be food-safe for use on dining tables or kitchen items?
- Does it need chemical or moisture resistance for bathroom vanities or outdoor furniture?
Considering these factors will guide you towards selecting the ideal finish for each woodworking project. Test samples on scraps first when trying a new finish.
Common Wood Finish Problems and Prevention
Even with careful application, there are a few common problems that can occur with wood finishes:
1. Blotchy or Uneven Appearance
- Cause: Surface contamination, uneven sanding, or incompatible finish and wood type.
- Prevention: Thoroughly clean and sand the wood. Apply a wood conditioner for blotch-prone woods.
2. Bubbles in the Finish
- Cause: Too much brushing, shaking the container, or applying in overly humid conditions.
- Prevention: Stir finish gently. Apply thin coats by gently brushing along the wood grain. Check for proper humidity.
3. Brush Marks in the Finish
- Cause: Using poor quality brush, inadequate drying time, or applying too thick.
- Prevention: Use high-quality natural bristle brush. Allow proper drying between coats. Apply thin coats.
4. Dust and Debris in the Finish
- Cause: Incomplete surface prep or applying finish in a dirty environment.
- Prevention: Wipe and vacuum away all dust before applying finish coats. Work in a clean, dust-free area.
5. Hazy Appearance
- Cause: Too much was applied, finishes were not compatible, or wiping away penetrating oils too aggressively.
- Prevention: Build up penetrating oils with thin coats, wiping away gently. Ensure finishes are compatible. Apply thin coats of surface finishes.
With care and patience, you can avoid common finish issues. Taking the time to properly prepare the wood and apply coats creates durable, professional results.
Now that we’ve covered the basics of woodworking finishes, it’s time to get started on your next wood project!
Conclusion
Understanding the differences between woodworking finishes enables you to select the right finish for your project’s needs. Allow yourself plenty of time for adequate surface preparation and applying multiple thin coats. With the right tools and techniques, you can achieve beautiful, professional-looking results.
The end result will showcase your woodworking skills while protecting your project for years of use to come. We hope this guide provides helpful insight into the world of woodworking finishes. Check out our woodworking resources page for more useful information to elevate your skills.
Happy woodworking!
Here are 3 relevant links related to this woodworking finishes article:
Complete Guide to Woodworking Finishes – Canadian Woodworking provides an in-depth overview of major wood finishing products.
Tips for Applying Wood Finishes – Family Handyman covers preparation, application methods, and troubleshooting tips.
Wood Finish Sheens Explained – Popular Woodworking examines the different gloss levels of wood finishes.