


- Introduction
- II. Getting Started with Woodworking
- III. Project 1: Simple Wooden Shelf
- IV. Project 2: Rustic Picture Frame
- V. Project 3: Wooden Coasters
- VI. Project 4: Basic Birdhouse
- VII. Project 5: Desktop Organizer
- VIII. Project 6: Wooden Cutting Board
- IX. Project 7: Simple Wooden Bench
- X. Project 8: Floating Wall Shelves
- XI. Project 9: Wooden Plant Stand
- XII. Project 10: DIY Wooden Clock
- XIII. Tips for Success in Beginner Woodworking Projects
- XIV. Progressing Beyond Beginner Projects
- XV. Conclusion
- XVI. FAQs
- External Links
Introduction
Are you itching to try your hand at woodworking but feel overwhelmed by complex projects? Don’t worry! This guide will introduce you to 10 easy woodworking projects perfect for absolute beginners. Whether you’re looking for a new hobby or want to create something unique for your home, these projects will help you build your skills and confidence.
Key Takeaways
| Project | Skill Level | Time to Complete | Main Tools Needed |
|---|---|---|---|
| Wooden Shelf | Very Easy | 2-3 hours | Saw, Drill, Sandpaper |
| Picture Frame | Easy | 1-2 hours | Miter Saw, Wood Glue |
| Wooden Coasters | Very Easy | 1 hour | Handsaw, Sandpaper |
II. Getting Started with Woodworking
Before diving into our projects, let’s cover some basics:
A. Essential tools for beginners
Every woodworker needs a starter kit. Here are some must-haves:
- Measuring tape
- Pencil
- Hand saw
- Hammer
- Screwdriver set
- Sandpaper
Pro tip: Start with basic tools and expand your collection as you gain experience.
B. Safety measures and precautions
Safety should always come first in woodworking. Remember to:
- Wear safety goggles to protect your eyes
- Use ear protection when operating loud machinery
- Wear a dust mask to avoid inhaling wood particles
- Keep your workspace clean and organized
C. Types of wood suitable for beginners
For your first projects, choose woods that are:
- Easy to work with
- Affordable
- Readily available
Some great options include:
- Pine
- Cedar
- Oak
- Poplar
III. Project 1: Simple Wooden Shelf
Let’s start with a practical project: a simple wooden shelf.
A. Materials needed
- 1×6 inch pine board (length depends on desired shelf size)
- Wood screws
- L-brackets
- Wood stain or paint (optional)
B. Step-by-step instructions
- Measure and mark your board to the desired length
- Cut the board using a hand saw
- Sand the edges and surfaces
- (Optional) Apply wood stain or paint
- Attach L-brackets to the wall
- Secure the shelf to the brackets
C. Tips for customization
- Experiment with different wood types for unique looks
- Try adding a live edge for a rustic feel
- Paint designs or patterns on the shelf surface
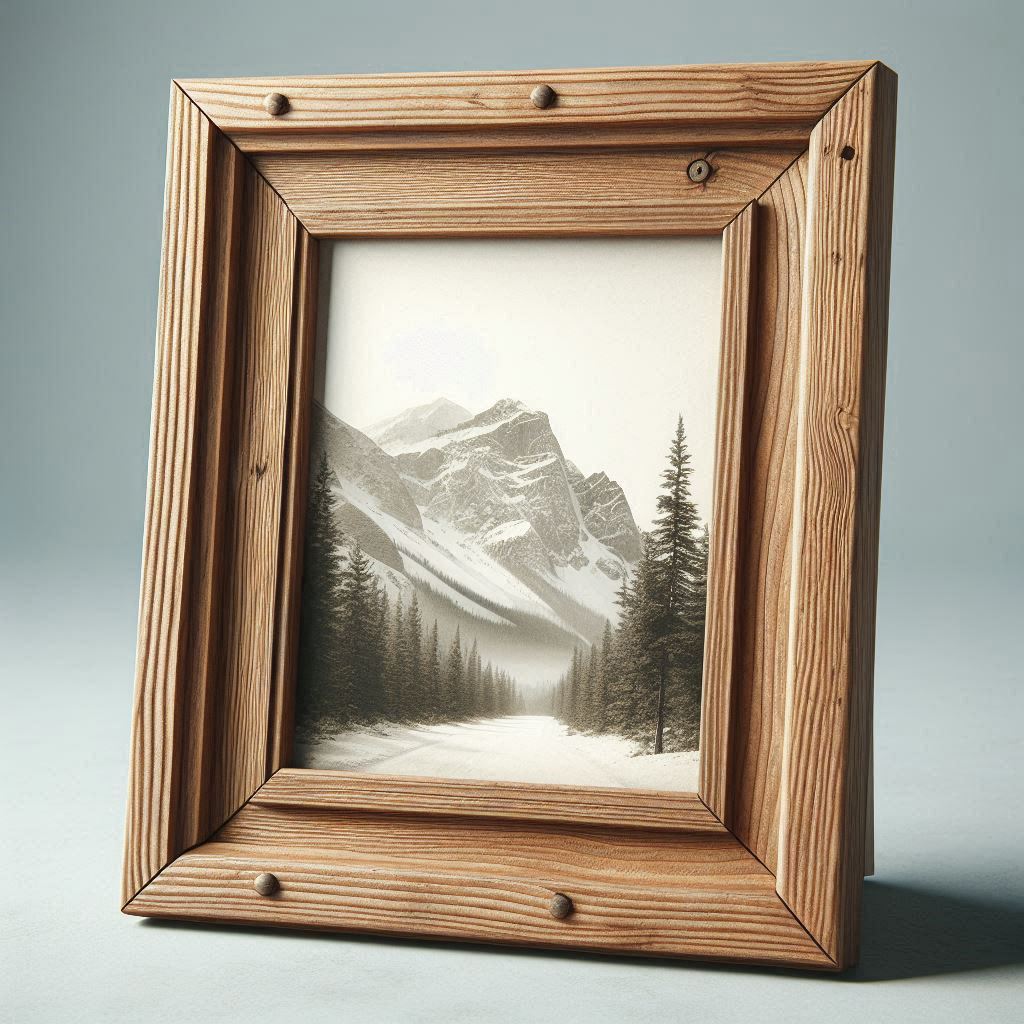
IV. Project 2: Rustic Picture Frame
Create a personalized frame for your favorite photos.
A. Materials needed
- 1×2 inch pine boards
- Wood glue
- Sandpaper
- Picture hanging hardware
B. Step-by-step instructions
- Measure and cut four pieces of wood to size
- Sand all pieces thoroughly
- Apply wood glue to join the corners
- Clamp and let dry
- Sand the entire frame
- Attach picture hanging hardware
C. Finishing techniques
- Try a weathered look with white paint and sandpaper
- Apply a dark stain for a classic appearance
- Use woodworking finishes for a professional touch
V. Project 3: Wooden Coasters
These simple coasters make great gifts and are perfect for beginners.
A. Materials needed
- 4×4 inch wooden squares (1/4 inch thick)
- Sandpaper
- Wood finish or paint
- Cork backing (optional)
B. Step-by-step instructions
- Cut wood into 4×4 inch squares
- Sand all surfaces and edges
- Apply wood finish or paint
- Let dry completely
- (Optional) Attach cork backing
C. Ideas for decorative patterns
- Use wood burning tools to create designs
- Paint geometric patterns
- Try wood staining techniques for a marbled effect
VI. Project 4: Basic Birdhouse
Attract feathered friends with this simple birdhouse project.
A. Materials needed
- 1×6 inch pine board
- Wood screws
- Drill
- Exterior paint
B. Step-by-step instructions
- Cut wood pieces for front, back, sides, bottom, and roof
- Drill an entrance hole in the front piece
- Assemble the pieces using wood screws
- Attach the roof
- Paint the exterior for weather protection
C. Painting and weatherproofing tips
- Use exterior-grade paint for longevity
- Apply a clear sealant for extra protection
- Consider adding a small perch below the entrance hole
VII. Project 5: Desktop Organizer
Keep your workspace tidy with this custom organizer.
A. Materials needed
- 1/4 inch plywood
- Wood glue
- Sandpaper
- Wood finish (optional)
B. Step-by-step instructions
- Cut plywood pieces for base, sides, and dividers
- Sand all pieces
- Assemble using wood glue
- Clamp and let dry
- Apply wood finish if desired
C. Sizing variations for different needs
- Create a larger version for art supplies
- Design a compact version for office supplies
- Add a phone charging station
VIII. Project 6: Wooden Cutting Board
A functional and attractive addition to any kitchen.
A. Materials needed
- Hardwood board (maple or walnut recommended)
- Food-safe mineral oil
- Sandpaper
B. Step-by-step instructions
- Cut the board to desired size
- Sand thoroughly, progressing through finer grits
- Round the edges with sandpaper
- Apply multiple coats of mineral oil
C. Food-safe finishing options
- Use beeswax for added protection
- Apply a blend of mineral oil and beeswax
- Reapply oil regularly to maintain the board
IX. Project 7: Simple Wooden Bench
Create a versatile seating option for your home.
A. Materials needed
- 2×4 lumber for legs and supports
- 1×6 lumber for seat
- Wood screws
- Wood glue
B. Step-by-step instructions
- Cut legs and supports to size
- Assemble the frame with screws and glue
- Cut and attach seat boards
- Sand all surfaces
- Apply finish of choice
C. Adding cushions or upholstery
- Create a simple cushion with foam and fabric
- Try leather upholstery for a sophisticated look
- Use outdoor fabric for a weather-resistant option
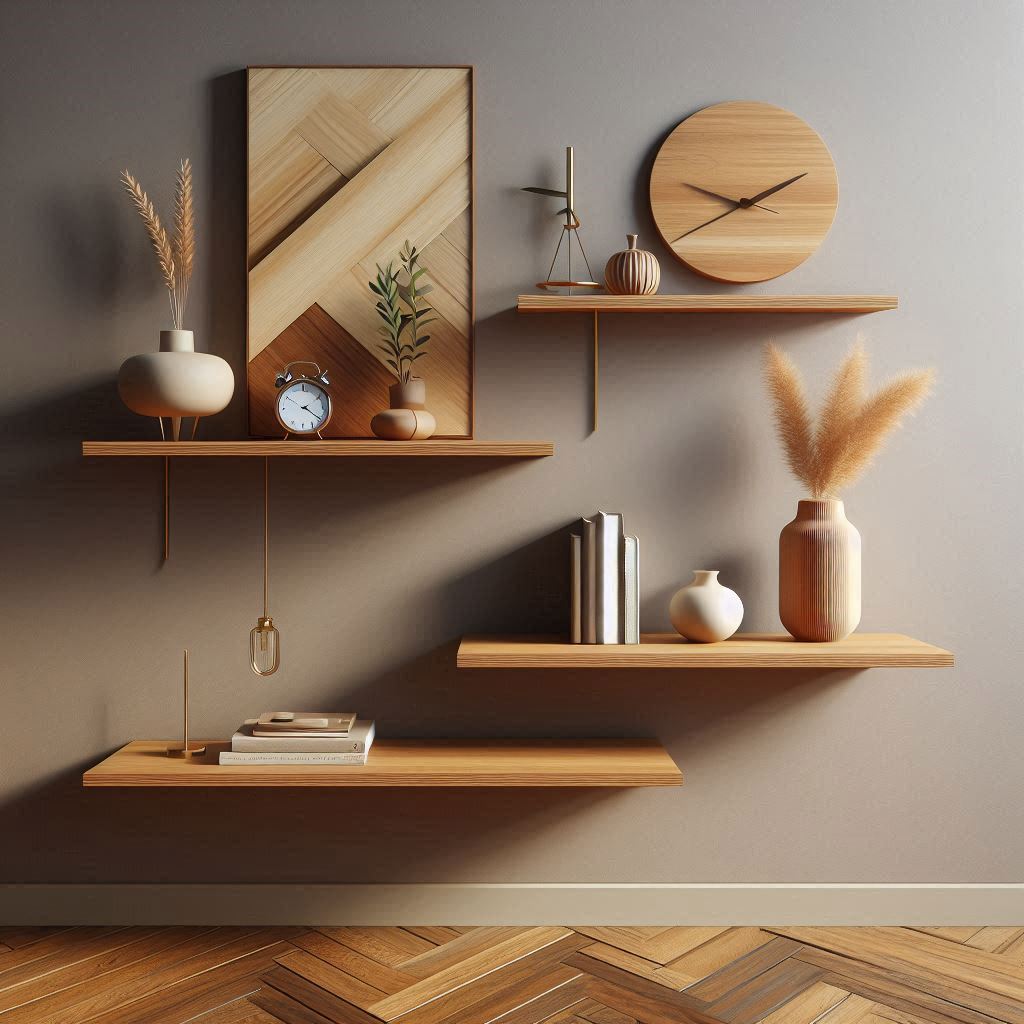
X. Project 8: Floating Wall Shelves
Add storage and style to any room with these sleek shelves.
A. Materials needed
- 1×8 inch boards
- Floating shelf brackets
- Wood screws
- Wall anchors
B. Step-by-step instructions
- Cut boards to desired length
- Sand and finish the boards
- Install brackets on the wall
- Slide shelves onto brackets
- Secure shelves with screws
C. Proper mounting techniques
- Use a stud finder to locate wall studs
- Install wall anchors for added support
- Ensure shelves are level before final installation
XI. Project 9: Wooden Plant Stand
Elevate your indoor plants with this simple stand.
A. Materials needed
- 1×2 inch boards for legs
- Plywood for shelves
- Wood screws
- Wood glue
B. Step-by-step instructions
- Cut legs to desired height
- Cut plywood shelves
- Assemble legs with cross supports
- Attach shelves to the frame
- Sand and finish as desired
C. Ideas for multi-tiered designs
- Create a cascading effect with different shelf heights
- Design a corner stand for space-saving
- Add wheels for a mobile plant station
XII. Project 10: DIY Wooden Clock
Combine form and function with this unique timepiece.
A. Materials needed
- 1/2 inch plywood
- Clock mechanism kit
- Paint or wood stain
- Drill
B. Step-by-step instructions
- Cut plywood into desired clock shape
- Sand edges and surface
- Paint or stain the clock face
- Drill a hole in the center for the mechanism
- Install the clock mechanism
C. Incorporating clock mechanisms
- Use large numbers for easy reading
- Try Roman numerals for a classic look
- Create a minimalist design with simple markers
XIII. Tips for Success in Beginner Woodworking Projects
A. Importance of measuring twice and cutting once
Always double-check your measurements before making any cuts. This simple habit can save you time, materials, and frustration.
B. Sanding and finishing techniques
- Start with coarse-grit sandpaper and progress to finer grits
- Sand in the direction of the wood grain
- Apply thin coats of finish for best results
C. Dealing with common mistakes
- Wood splitting: Pre-drill holes near edges
- Uneven cuts: Use a miter saw for precise angles
- Stain blotching: Apply a pre-stain conditioner
XIV. Progressing Beyond Beginner Projects
A. Intermediate project ideas
B. Expanding your tool collection
Consider adding these tools as you advance:
C. Resources for further learning
- Local woodworking classes
- Online tutorials and forums
- Woodworking magazines and books
XV. Conclusion
Woodworking is a rewarding hobby that allows you to create beautiful and functional pieces for your home. By starting with these easy projects, you’ll build the skills and confidence to tackle more complex designs in the future. Remember, every expert woodworker started as a beginner, so don’t be afraid to make mistakes and learn from them.
We encourage you to start with one of these projects today. Share your completed works with friends and family, or even consider selling your creations online. Happy woodworking!
XVI. FAQs
What’s the easiest woodworking project for a complete beginner?
The easiest project for a complete beginner is often a simple wooden shelf or a set of coasters. These projects require minimal tools and materials, and they introduce basic skills like measuring, cutting, and sanding. They’re also forgiving if you make small mistakes, making them perfect for building confidence in your woodworking abilities.
How much should I expect to spend on tools as a beginner?
As a beginner, you can start with a basic set of tools for around $100 to $200. This would typically include a hand saw, hammer, screwdriver set, measuring tape, and sandpaper. As you progress and take on more complex projects, you might invest in power tools like a drill or circular saw, which can increase your budget. Remember, it’s often better to start with fewer, high-quality tools rather than many cheap ones.
Can I do woodworking if I don’t have a dedicated workshop?
Absolutely! Many beginners start woodworking without a dedicated workshop. You can set up a temporary workspace in your garage, basement, or even on a balcony. For small projects, a sturdy table or workbench in any room can suffice. Just make sure you have good lighting, ventilation, and a way to contain sawdust. As your skills and project sizes grow, you might want to consider creating a more permanent workspace.
How long does it typically take to complete a beginner project?
The time to complete a beginner project can vary widely depending on the project and your skill level. Simple projects like coasters or a basic shelf might take 1-3 hours. More complex beginner projects, like a birdhouse or a simple bench, might take 4-8 hours spread over a couple of days. Remember, woodworking is often about the journey as much as the destination, so take your time and enjoy the process of learning and creating.
Are there any woodworking clubs or communities for beginners?
Yes, there are many woodworking clubs and communities that welcome beginners. Look for local woodworking guilds or clubs in your area – they often offer workshops, tool-sharing programs, and mentorship opportunities. Online, you can find beginner-friendly communities on platforms like Reddit (r/woodworking), Facebook groups, or dedicated woodworking forums. These communities are great for getting advice, sharing your projects, and finding inspiration from other woodworkers at all skill levels.
What are some common mistakes beginners make in woodworking?
Common beginner mistakes include:
- Not measuring accurately or forgetting to account for saw blade width
- Rushing through projects without proper planning
- Neglecting safety precautions like eye and ear protection
- Using dull tools, which can lead to poor results and safety hazards
- Applying too much force when cutting or drilling, leading to splits or breakage
- Skipping the crucial step of sanding before finishing
Remember, mistakes are part of the learning process. The key is to learn from them and apply those lessons to future projects.
How can I make my woodworking projects more environmentally friendly?
To make your woodworking more eco-friendly:
- Use reclaimed or sustainably sourced wood
- Opt for water-based or natural finishes instead of harsh chemicals
- Minimize waste by planning cuts carefully and using scraps for smaller projects
- Choose durable designs that won’t need frequent replacement
- Consider upcycling projects that give new life to old items
- Use hand tools when possible to reduce energy consumption
- Properly dispose of or recycle sawdust and wood scraps
By making these choices, you can enjoy your hobby while minimizing its environmental impact.